A drawing step-by-step
02 Apr 2024I have been asked a few times how I make the drawings for my slides and for this blog. I’ll write a couple of posts about this. The first one shows how I build a picture step-by-step.
Almost all drawing softwares allow to draw on several layers, and show/hide them at will. I’ll illustrate how I use layers to get the following pair of pictures I made for a post a few weeks ago.
 |
 |
The first layers I create is a white background, that I won’t edit, all the other layers are transparent. On the first (transparent) layer I very quickly draw a draft of the (first) picture. On this draft layer, I draw without erasing, in one color, just to place the elements.
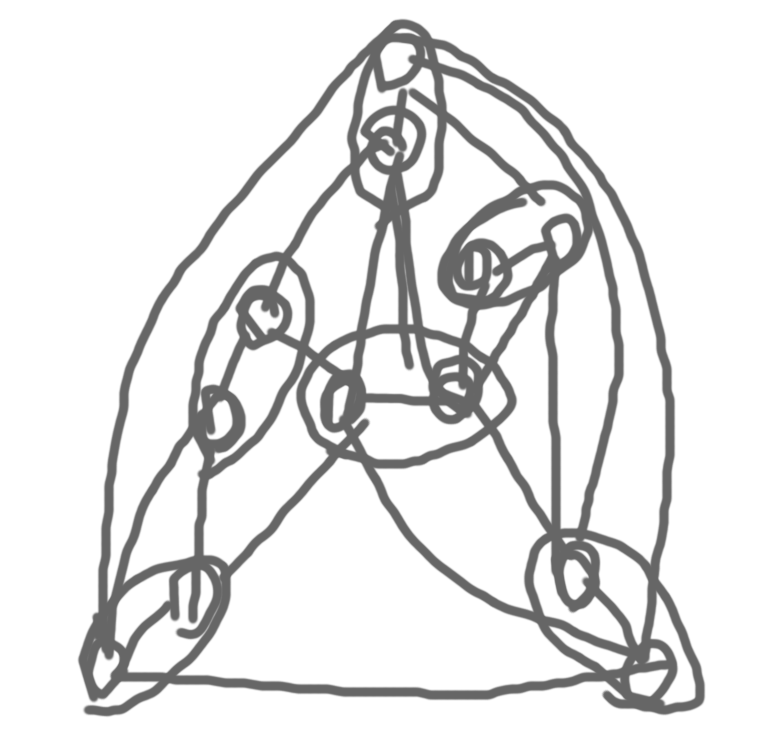
Then I reduce the opacity of this first draft layer, and create a second draft, where I better place the elements, and have colors. On that one, I roughly erase the useless stuff.
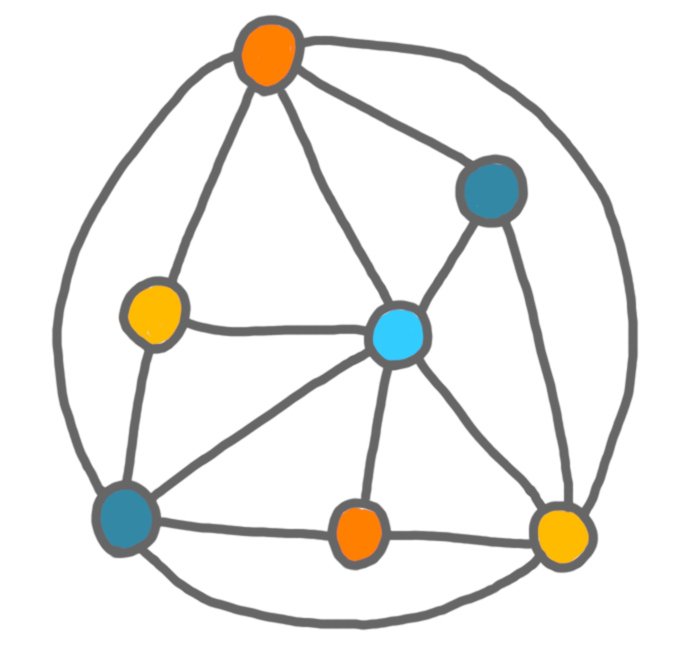
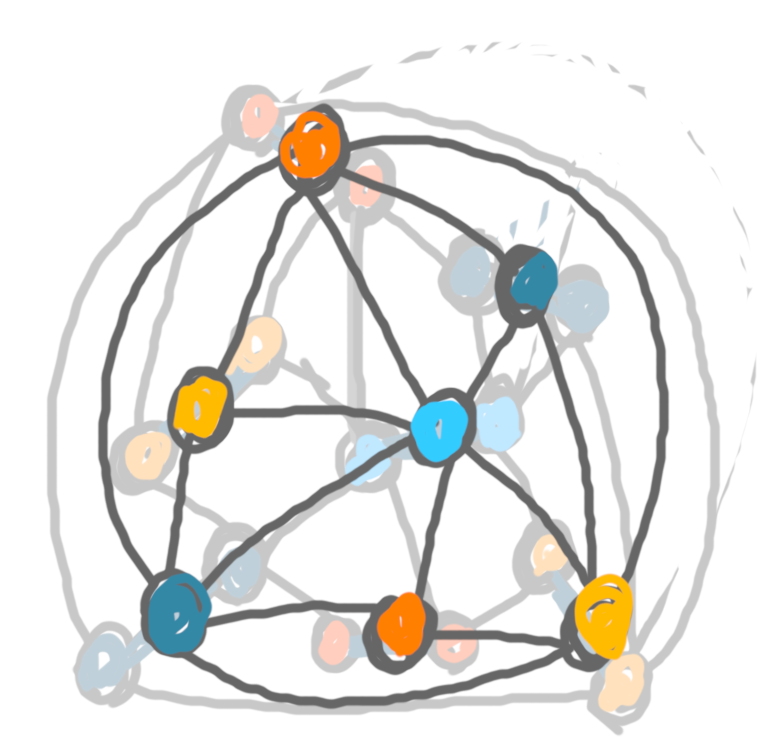
Then I hide the first draft completely, reduce the opacity of the second draft, to create a draft for the second picture.
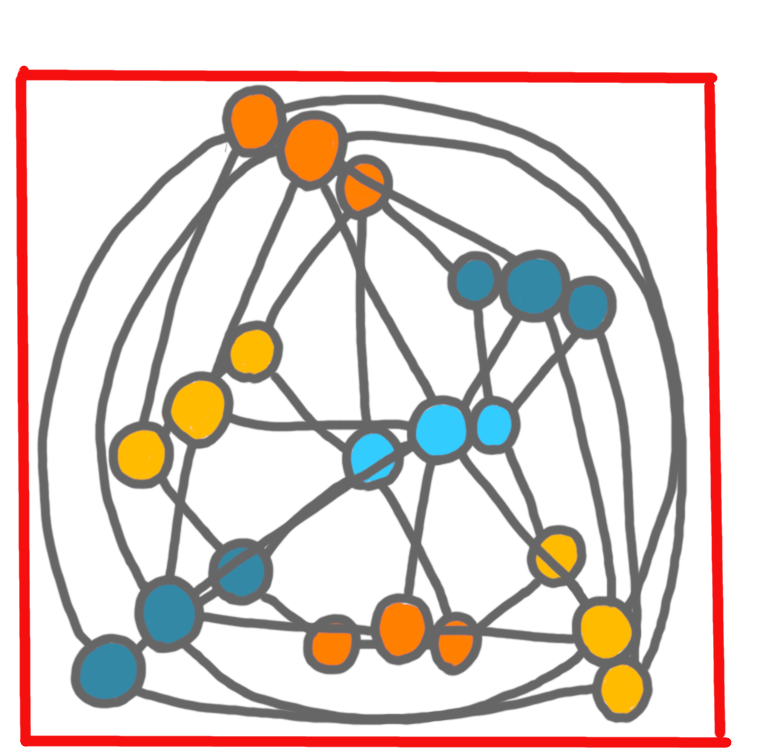
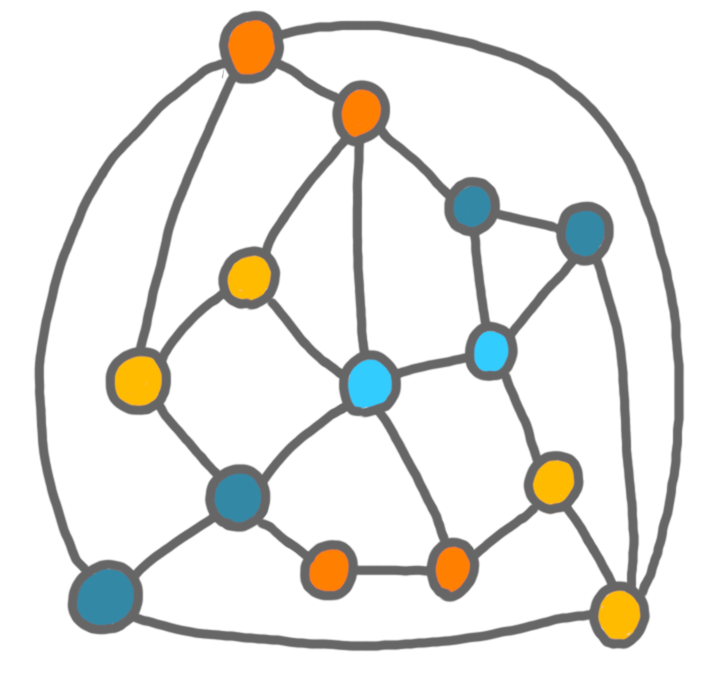
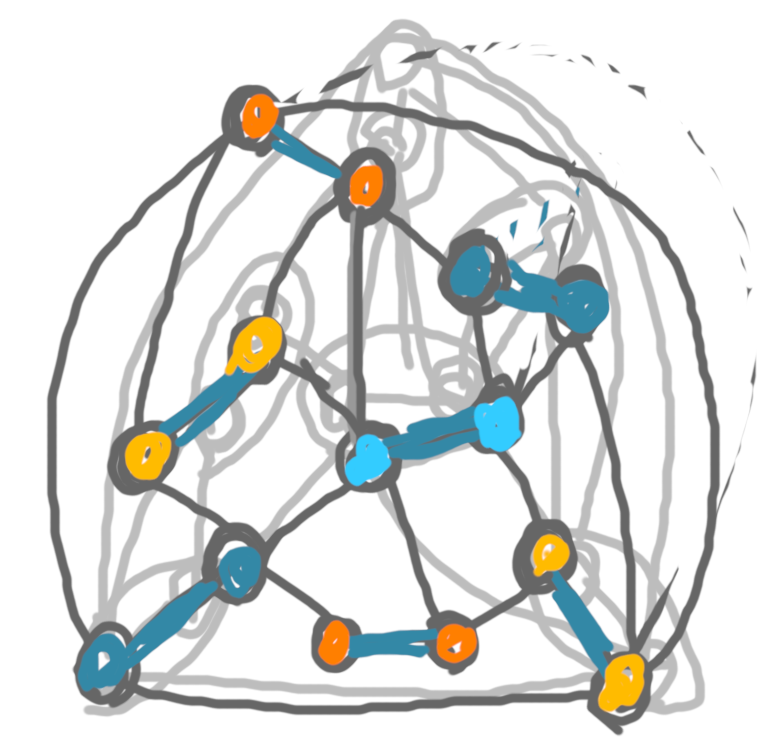
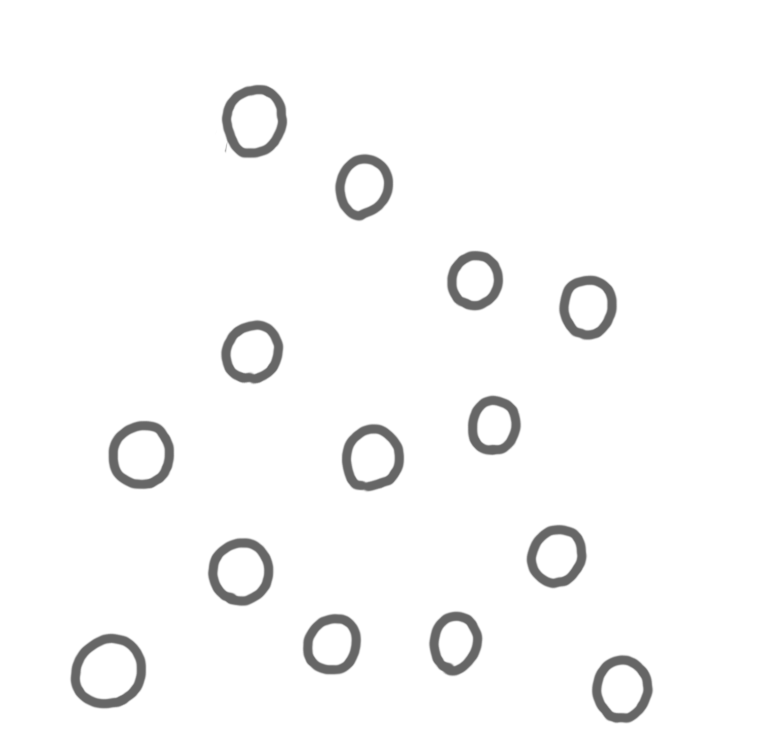
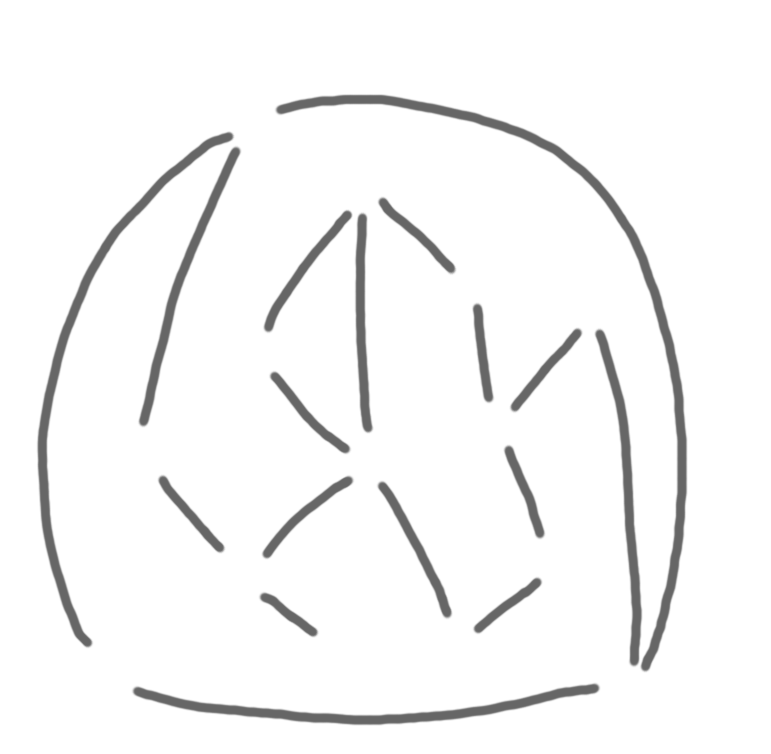
Now, I draw the final version of the first picture. I do so on many layers which are from top to bottom: (1) vertices contours, (2) edges of the matching in grey, (3) the other edges of the graph, and (4) vertices colors, (5) edges of the matching in bold blue. Below are these five layers, along with the picture with all layers but (5).
 |
 |
 |
 |
 |
|
A few remarks:
-
The layers (2) and (5) are not used together: when I want to highlight the edges of the matching I use (5), otherwise I use (2). In general, to have an animation in a talk, I show/hide layers.
-
I’m not always sure which objects are going to be appear together or not. I often have more layers than necessary. For example here, layer (1) and (4) could have been merged. This is also useful when I want to modify a picture for a later presentation, since it gives more flexibility.
-
The order of the layers is important. For example, I can fill the vertices with colors harshly, because anyway layer (1) will be on top of layer (4).
I follow a similar process for the second picture. One handy thing in the software I use (which is gimp) is that you can have folders of layers, hence I can hide in one click the folder of layers for picture 1, while working on picture 2.
Finally, I display both pictures together for cropping. This allows to have the exact same frame, for animations in slides, and for allignment in blog posts.